Resolving SkyTrak+ WiFi Connectivity Issues: A Comprehensive Guide
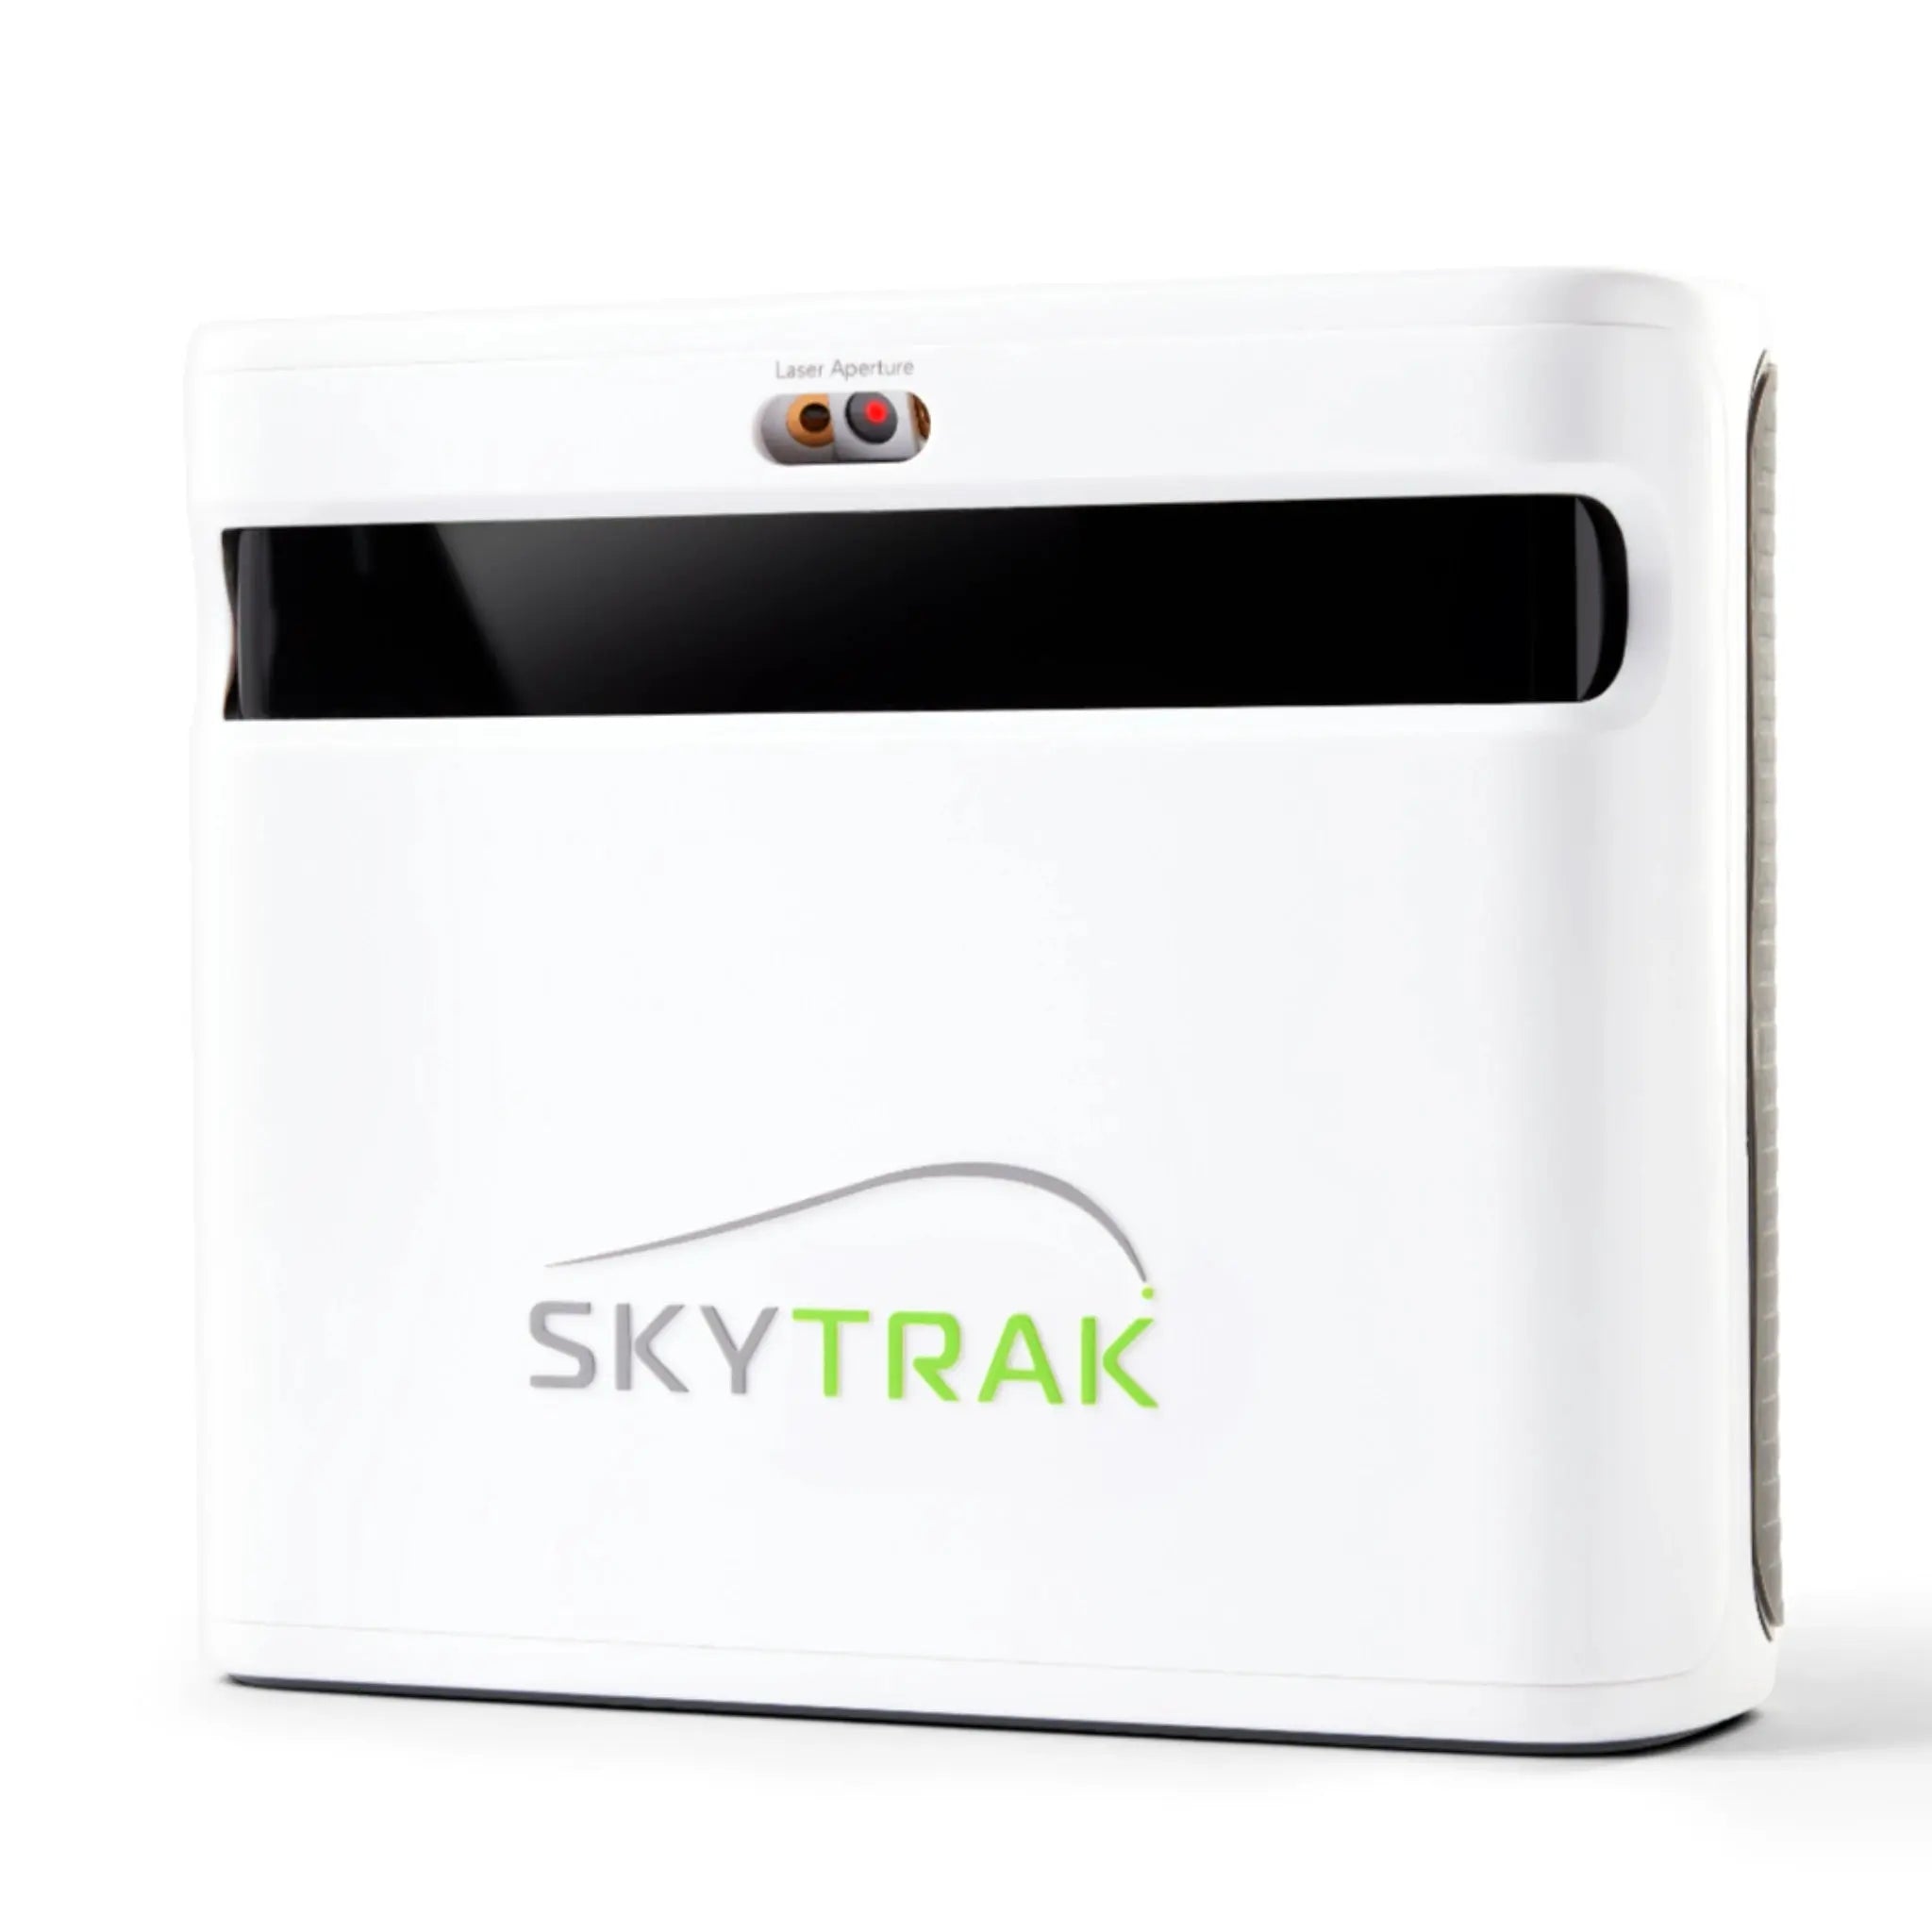
If you're using the SkyTrak+ Launch Monitor, you may occasionally encounter WiFi connectivity issues. These problems can stem from a variety of causes, including signal interference, network band incompatibility, or router settings. In this guide, we’ll dive deep into the most common SkyTrak+ WiFi issues and provide step-by-step solutions to help you get back on the course with uninterrupted performance.
1. Signal Range and Obstructions
Why Signal Range Matters:
SkyTrak+ relies heavily on a strong WiFi signal to connect to your device. If your golf simulator setup is located far from your WiFi router, in a basement or a garage, or if thick walls are obstructing the signal, the connection may become weak or unstable. This is one of the most common causes of SkyTrak+ connectivity issues.
How to Improve WiFi Signal Strength:
-
Relocate Your Router: Ideally, your WiFi router should be positioned near your golf simulator setup. Moving the router closer reduces the interference caused by walls and floors, enhancing the signal strength for the SkyTrak+.
-
Use WiFi Extenders: If relocating your router isn't possible, you can use WiFi extenders or mesh networks to boost signal strength in your golf simulator space. This is especially helpful if you're using SkyTrak+ in a large home or an outbuilding.
-
Install an Ethernet Cable: For a more reliable connection, consider running an Ethernet cable directly from your router to the room where your SkyTrak+ is installed. This eliminates WiFi-related interference and provides a steady, wired connection.
2. Incompatible Network Bands
Why Network Band Compatibility is Important:
The SkyTrak+ Launch Monitor is only compatible with 2.4GHz WiFi networks, which provide better range but slower speeds compared to 5GHz. Many modern routers broadcast on both bands, and if your router prioritizes the 5GHz band, SkyTrak+ won’t be able to connect.
How to Ensure Compatibility:
-
Check Your Router Settings: Access your router’s settings through its IP address (commonly 192.168.1.1) and ensure that the 2.4GHz band is enabled. Disable the 5GHz band temporarily if needed, to ensure the SkyTrak+ connects without interference.
-
Rename Networks for Clarity: If your router broadcasts both bands under a single network name (SSID), rename them for clarity (e.g., “HomeNetwork_2G” and “HomeNetwork_5G”). This allows you to explicitly connect SkyTrak+ to the 2.4GHz band.
-
Avoid Special Characters: Ensure that your WiFi network name and password don’t contain special characters, as these may prevent SkyTrak+ from recognizing the network.
3. IP Address Conflicts
Why IP Address Conflicts Occur:
The SkyTrak+ Launch Monitor may assign itself a static IP address (10.0.0.1), which can conflict with routers that use the same default address. This IP conflict can prevent your SkyTrak+ from connecting to the WiFi.
How to Fix IP Address Conflicts:
-
Change Your Router’s IP Address: Log into your router’s admin settings and change its IP address from the conflicting 10.0.0.1 to something less common, such as 192.168.2.1.
-
Set Up a Separate Network: Alternatively, you can set up a guest network or a second wireless network specifically for the SkyTrak+, which will prevent it from conflicting with other devices on your main network.
4. WiFi Not Detected by PC
Why Your PC Might Not Detect the SkyTrak+ WiFi:
If your PC can’t detect the SkyTrak+ WiFi network, it could be due to an issue with your computer’s WiFi adapter or driver settings. Some PCs may have limited ability to detect weaker or non-standard WiFi signals, like those emitted by SkyTrak+.
How to Fix This Issue:
-
Use a USB WiFi Adapter: One simple fix is purchasing a USB WiFi adapter for your PC, which can improve the range and strength of the WiFi signal. These adapters are inexpensive and can greatly enhance your PC’s ability to connect to SkyTrak+.
-
Update Your PC’s Drivers: Ensure that your computer’s WiFi drivers are up-to-date by checking the device manager or downloading the latest drivers from the manufacturer’s website.
5. Direct Mode vs. Network Mode
Understanding the Modes:
SkyTrak+ offers two connection modes: Direct Mode and Network Mode. In Direct Mode, SkyTrak+ creates its own WiFi network for your device to connect to, while in Network Mode, both the SkyTrak+ and your device connect through your home WiFi router.
How to Connect in Direct Mode:
- Turn on SkyTrak+ and your device.
- Open the SkyTrak+ app and go to connection settings.
- Select Direct Mode and connect to the SkyTrak+ WiFi network.
- Once connected, you can start using the launch monitor without an internet connection. However, this mode won’t allow real-time online features such as shot data syncing.
For full functionality, including access to online courses and game modes, use Network Mode. In this mode, both your device and the SkyTrak+ connect via your home WiFi, enabling a concurrent internet connection.
6. Router Configuration and Security Settings
Why Router Settings May Cause Issues:
Certain router settings, such as firewalls or MAC address filtering, can prevent SkyTrak+ from establishing a connection. Non-standard security protocols can also block communication between the SkyTrak+ and your device.
How to Adjust Router Settings:
-
Disable Advanced Security Features: Log into your router’s admin settings and disable features such as MAC address filtering, firewalls, or advanced security protocols that could be preventing the connection.
-
Set Up a Guest Network: If disabling security features is not an option, setting up a guest network with fewer restrictions can allow SkyTrak+ to connect without interference.
By following these detailed troubleshooting steps, you should be able to resolve most SkyTrak+ WiFi issues and enjoy a seamless indoor golf experience. If you continue to face problems, consider updating the firmware or contacting SkyTrak support for further assistance.


