Standard Golf Impact Screen
Pictured far left
- Budget-friendly starter material
- 100% heavy-duty polyester
- Looser weave (grain more visible)
- Great for casual play / practice
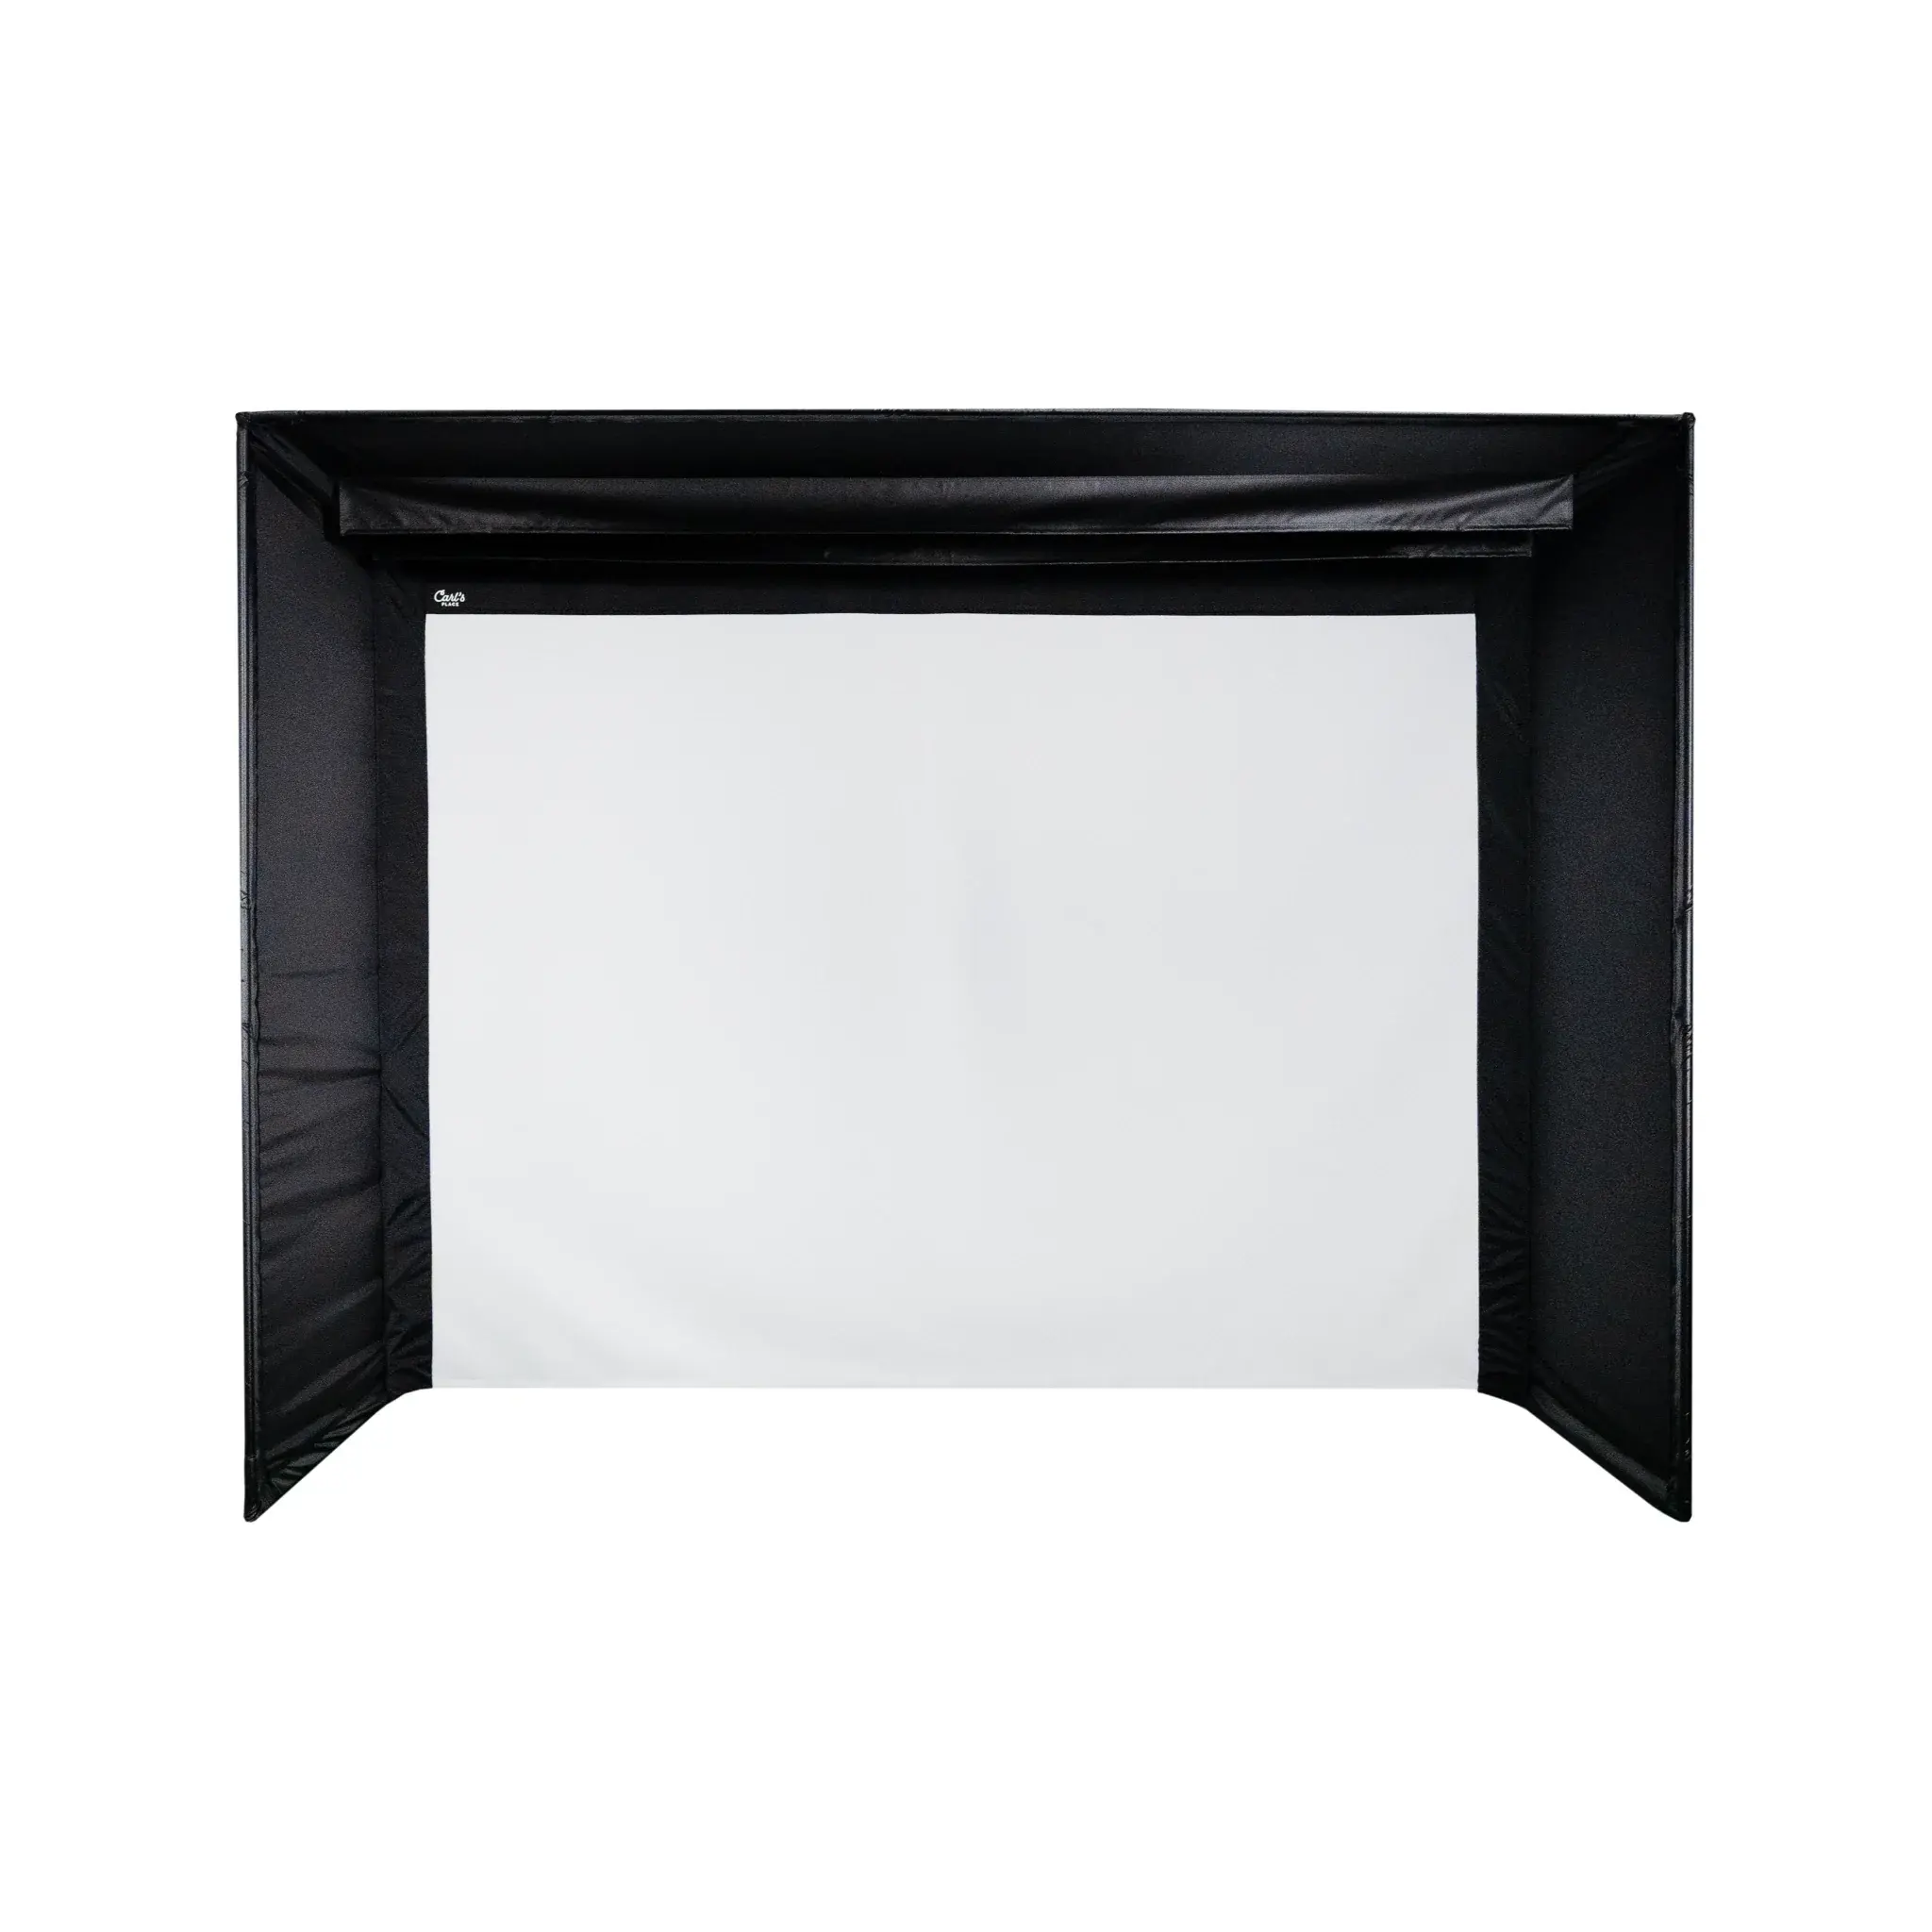
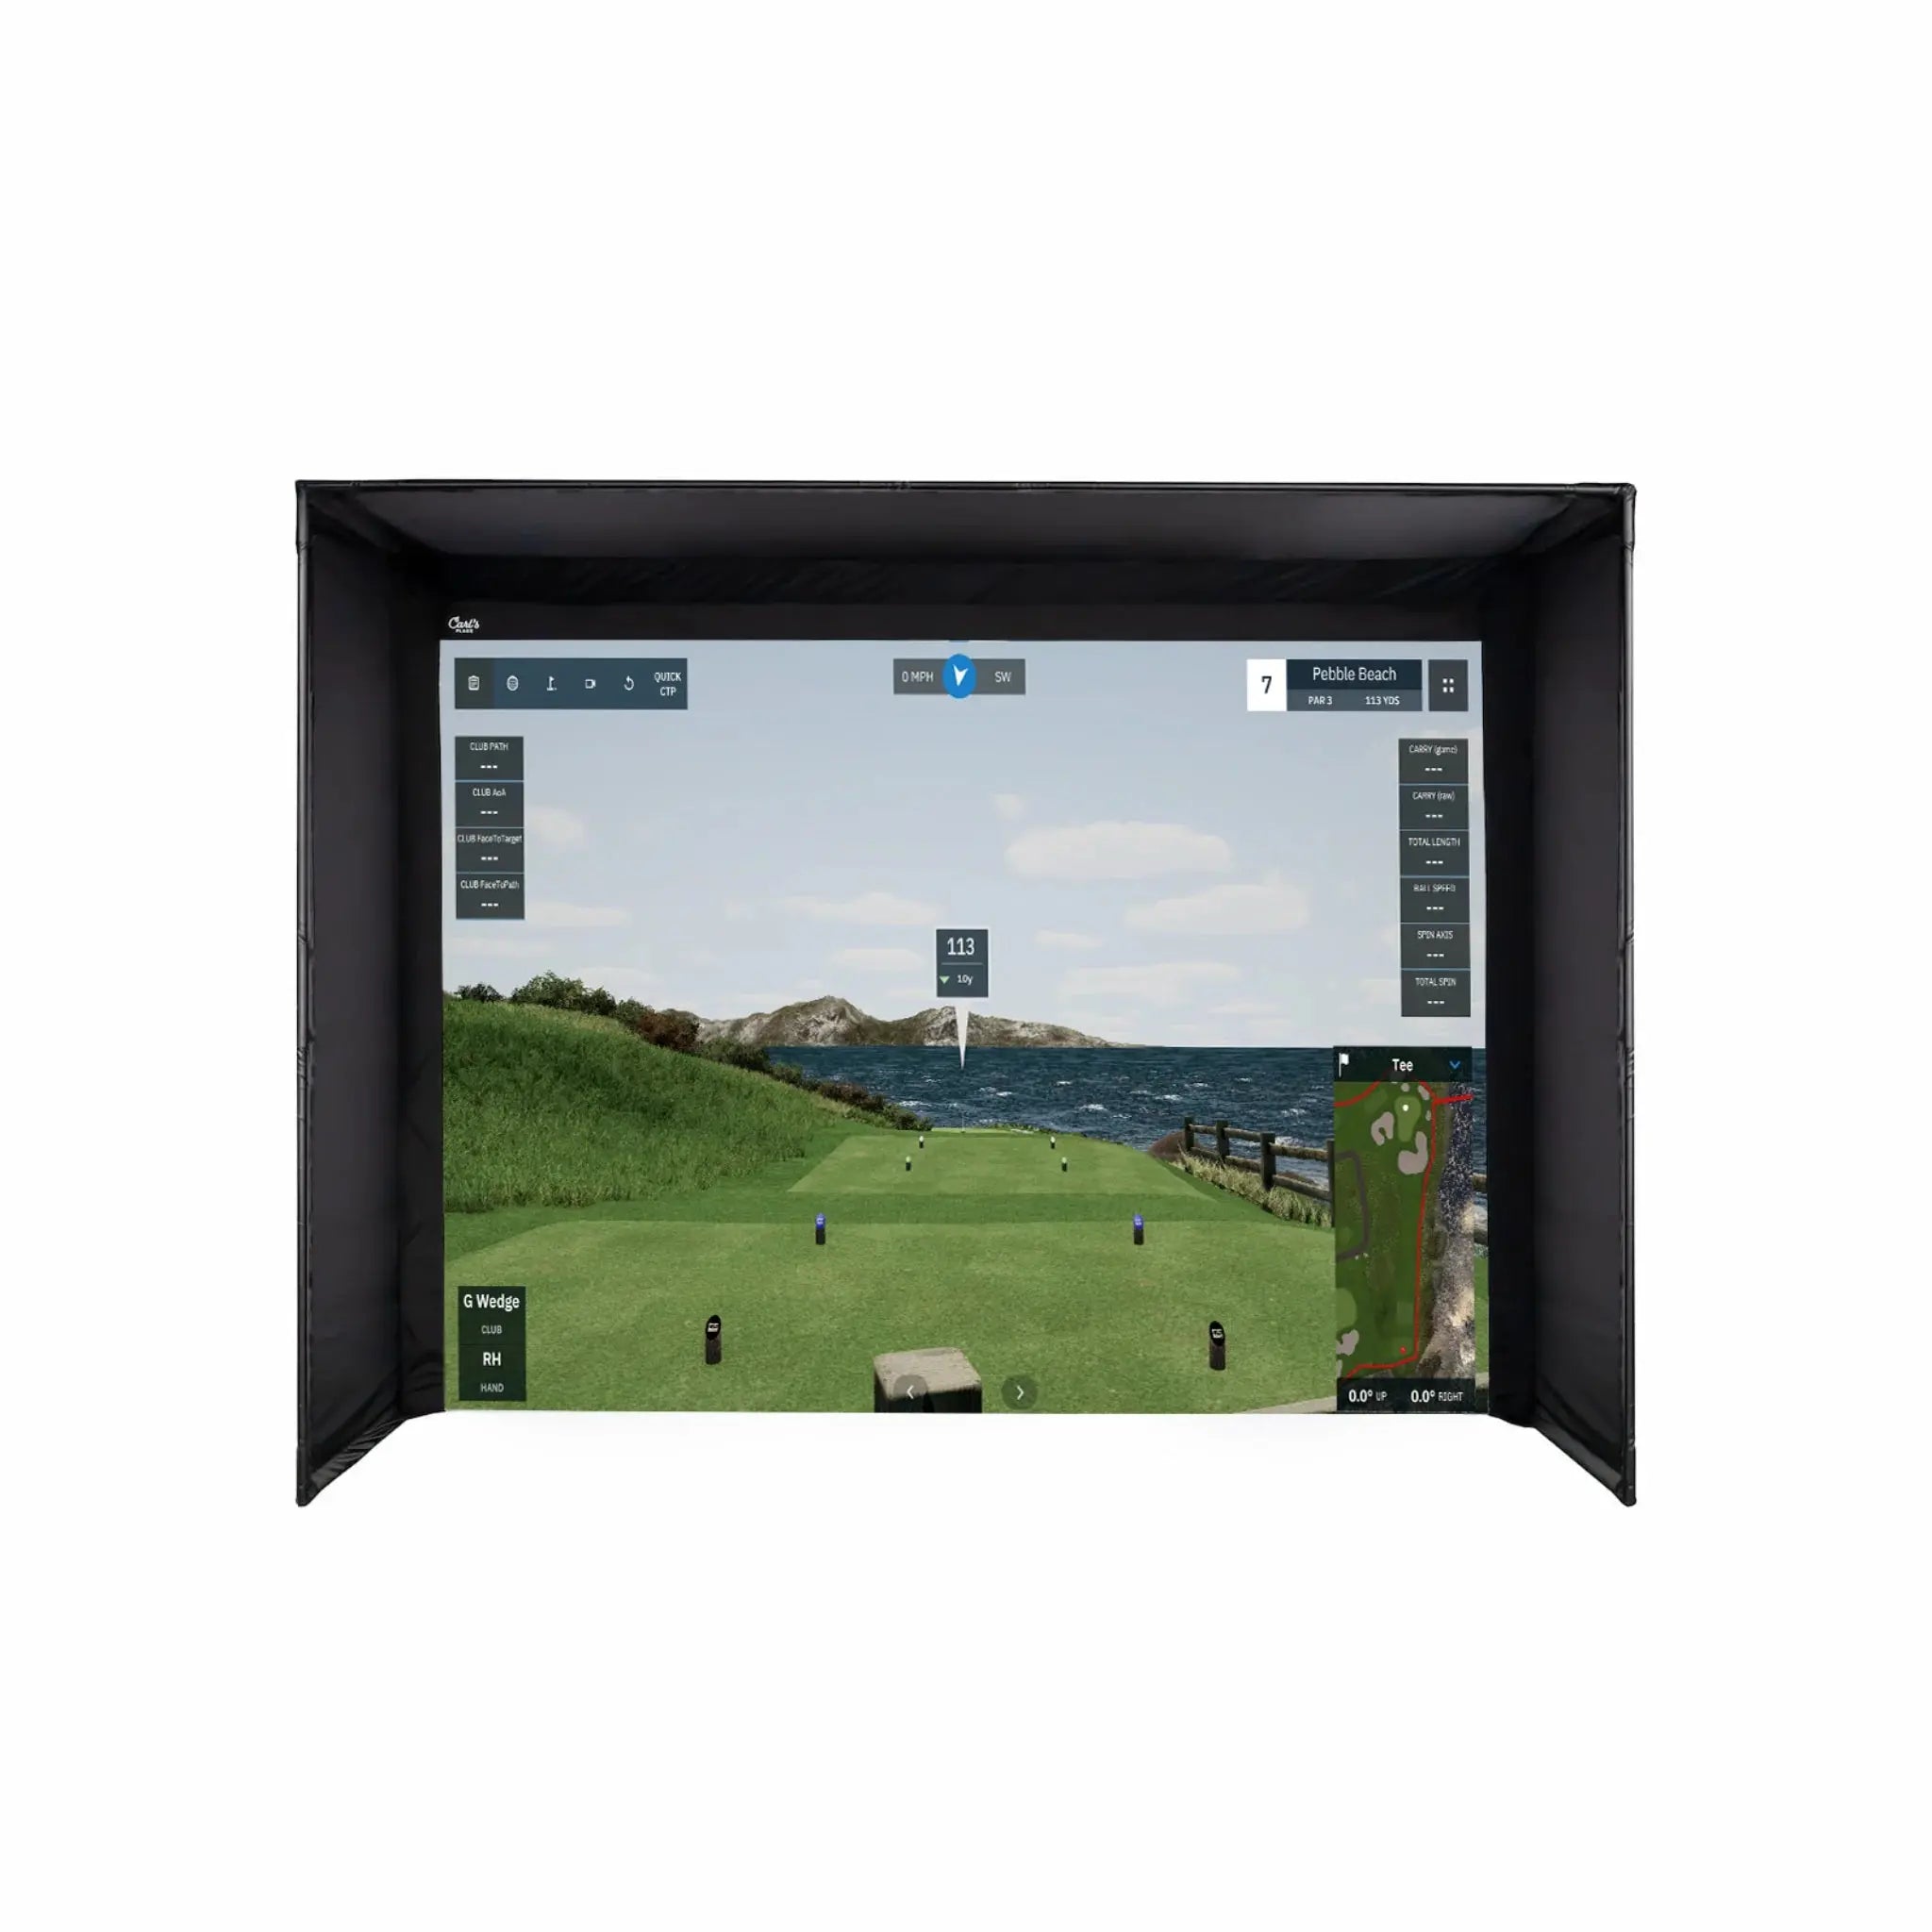
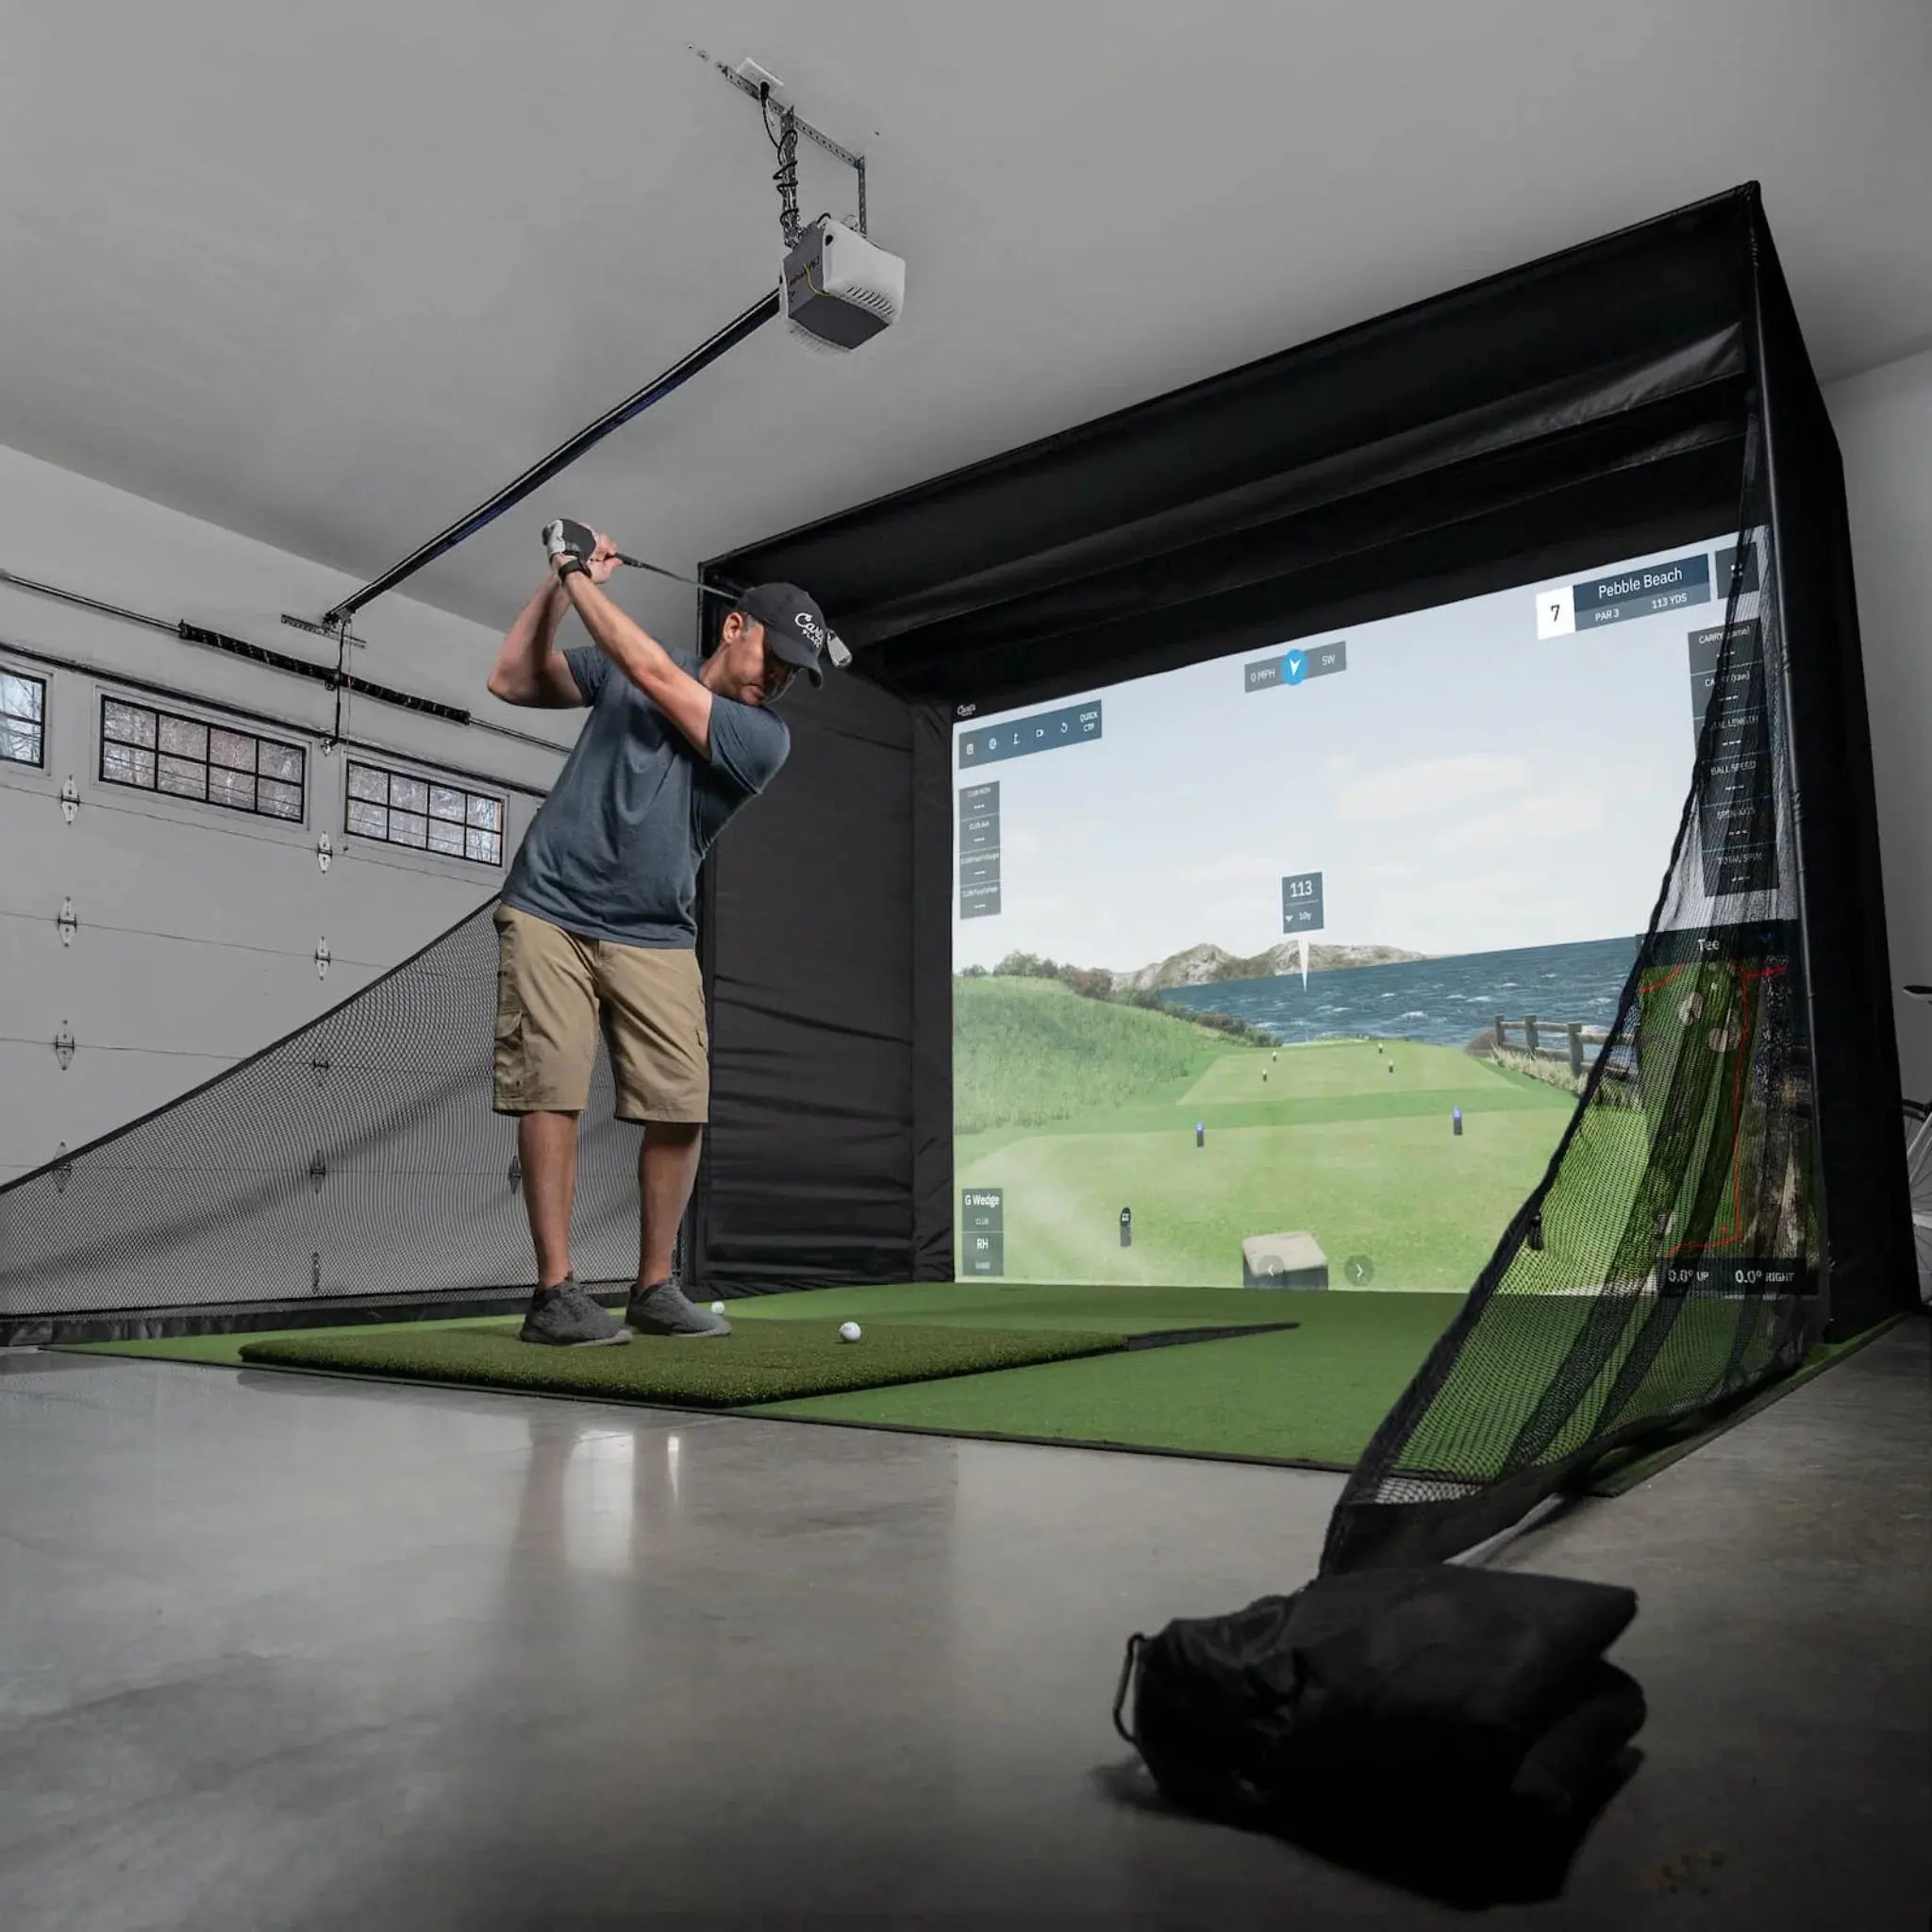
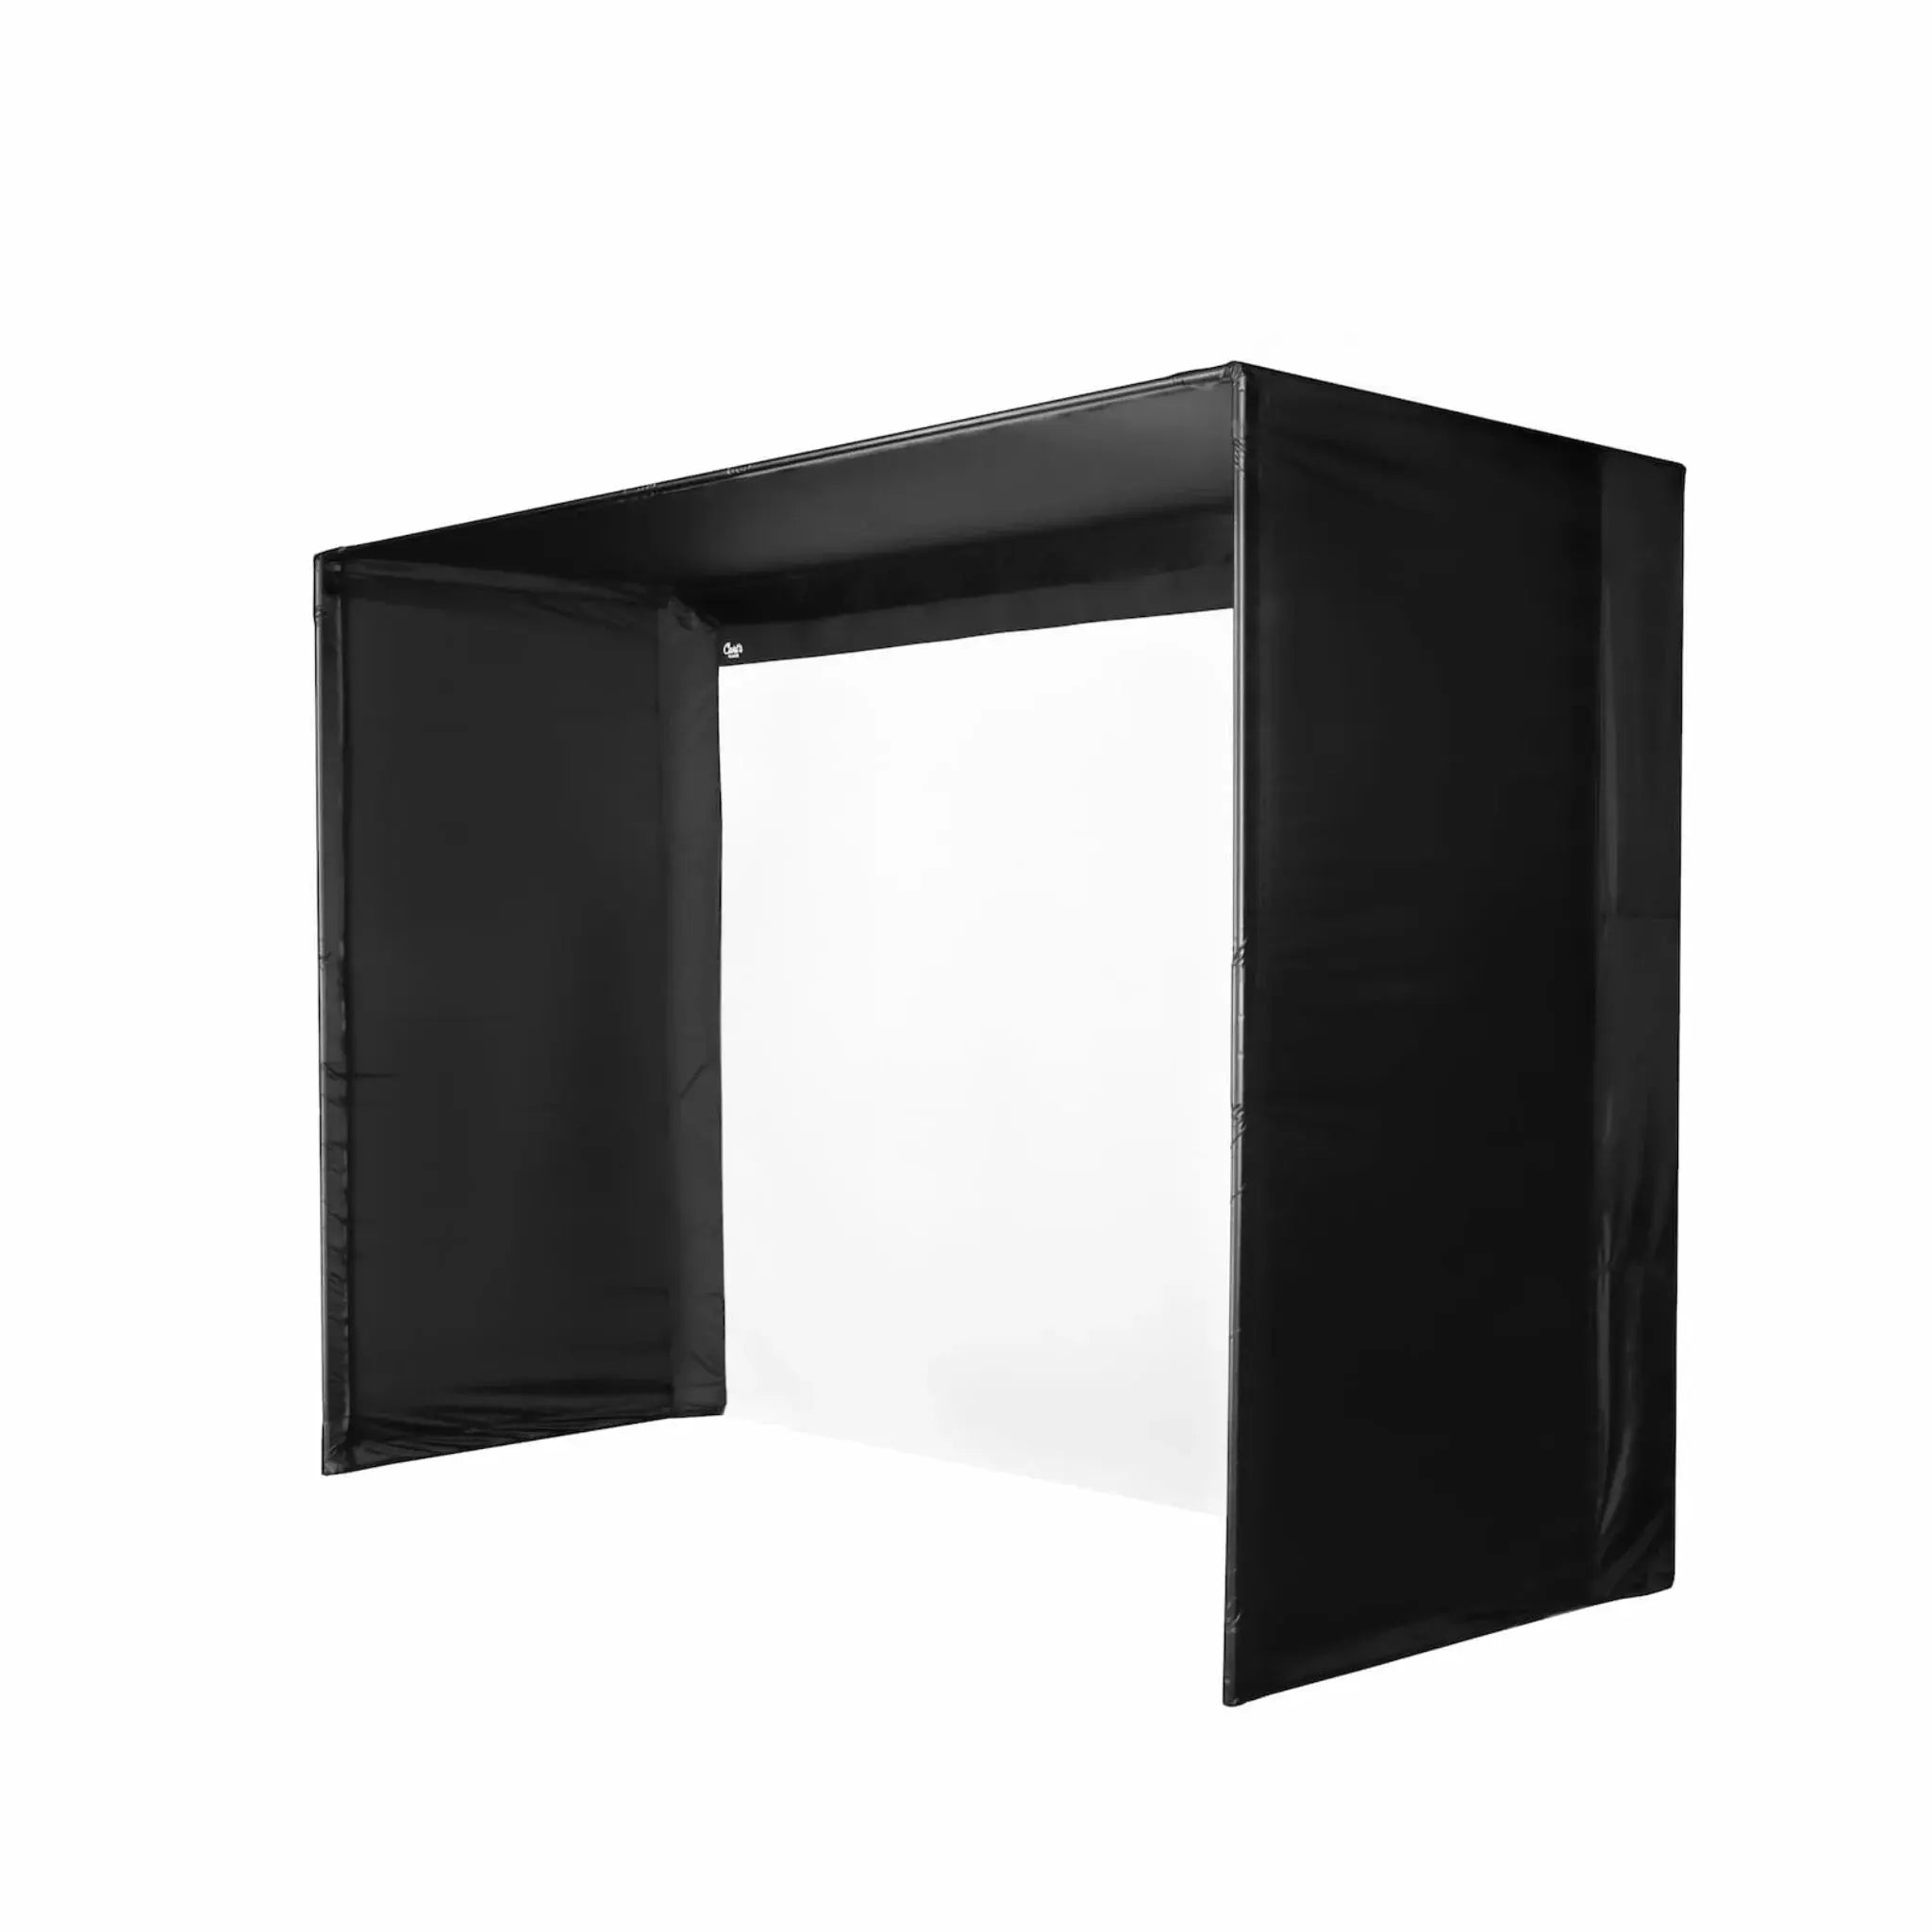
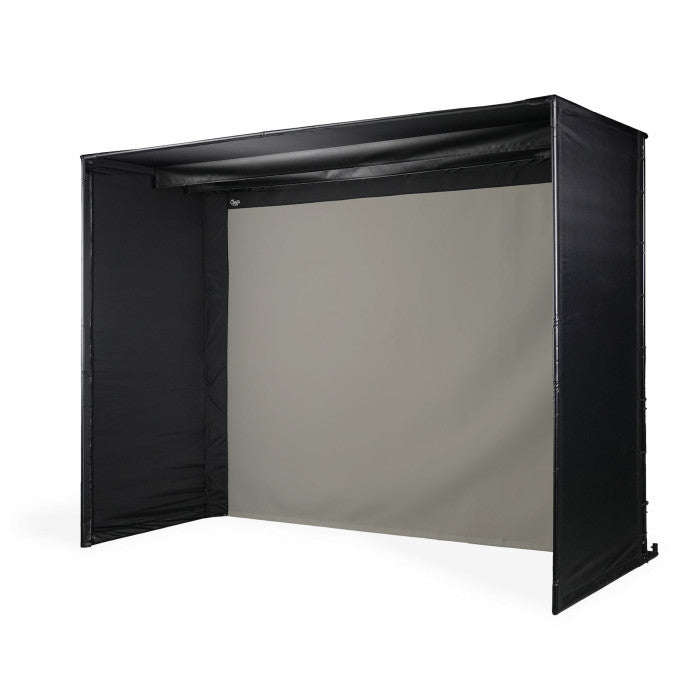
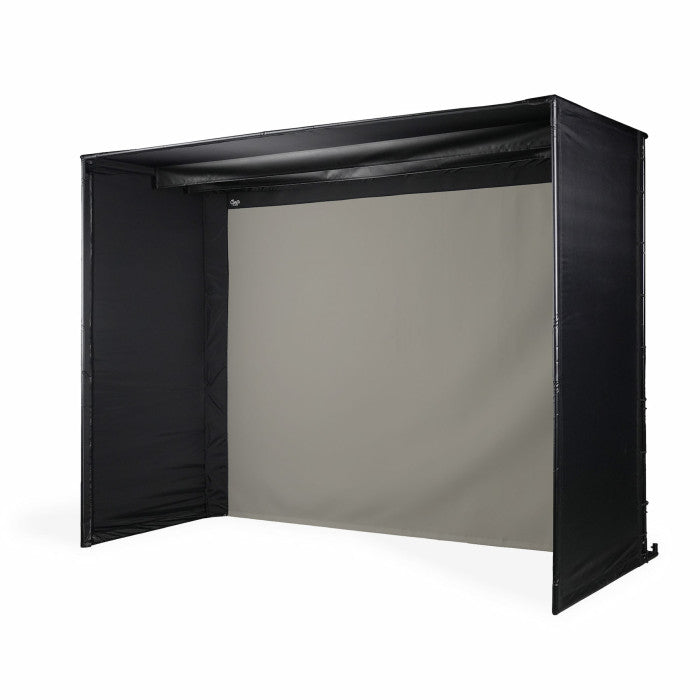
Achieve a flawless floor-to-turf visual experience during your indoor golf sessions!
The Carl's Place DIY C-Series Golf Simulator Enclosure Kits, featuring an impact screen that seamlessly extends to the floor. Crafted from high-quality nylon materials and connector fittings, these kits guarantee a smooth and hassle-free setup process. We'll tell you which pipes you need. Alternatively, you can just add the Pipe Framing Kit for an effortless, all-in-one solution to create your home golf enclosure.
Your Choice of Impact Screen: Take your pick from our Standard, Preferred, or Premium screens, each crafted to deliver a seamless floor-to-turf image with minimal bounceback.
Black Nylon Enclosure: This tough enclosure not only shades the screen for optimal brightness but also creates a safe hitting bay environment, preventing any stray shots from damaging your walls.
Steel Fittings: Included in the DIY Golf Simulator Enclosure Kit are the essential corner fittings for easy pipe connection. Pipes are sold separately.
Ball Bungees and Zip Ties: We provide all the necessary fasteners to securely attach your screen to the frame. Additionally, you'll receive extra options, such as releasable zip ties and 6" and 9" ball bungees, allowing you to customize the tension based on your swing style and preferences. Adjust for the perfect balance between tension and slack, depending on factors like proximity to the screen, ball speed, club choice, and spin rates.
Pipe Framing Kit: While the Pipe Framing Kit is optional, the pipes needed to construct your frame are essential. We'll guide you on the exact 1-inch EMT required, available at any local hardware store. Alternatively, opt for our add-on kit, including pre-cut pipes for hassle-free assembly.
Net Wall Extensions: Shield your enclosure walls without sacrificing space. Our net wall extensions offer an additional barrier against stray balls, easily attached with hook and loop strips. A sandbag base ensures stability (fill not included).
Foam Insert Kit: Ensure safety and peace of mind with memory foam cushions, precisely designed to fit behind the screen flaps of your DIY Golf Simulator Enclosure.
Baffles: Tackle high wedge shots with ceiling baffles, now compatible with Carl’s DIY enclosure.
Back Cover Kit and Back Cover Pipe Kit: Eliminate light leakage for superior image quality and enhance the enclosure's appearance with our back cover kits. Opt for pre-cut pipes or receive guidance on sourcing and cutting your own.
Choose options


The screen extends all the way to the floor — no black border at the bottom, no awkward gap between turf and image. Putting and short game shots look realistic because the image doesn't end at knee height. This is Carl's signature design feature.
Choose from six enclosure sizes — from a compact 8'×8' to a full 9'×12' bay — and pair with your choice of Standard, Preferred, Premium, or High-Contrast Gray impact screen. One of the most configurable DIY kits in the industry.
Most customers assemble the enclosure alone in just over an hour. The frame uses 1" EMT pipe and steel corner fittings — the nylon enclosure and screen attach via Velcro, zip ties, and ball bungees. Clear instructions included.
Carl's screens are tested to withstand repeated impacts from golf balls traveling up to 250 MPH. The bottom cable + zip tie system reduces bounce-back, keeping balls in the bay and off your walls.
Works with ground-based, portable, and overhead launch monitors. Compatible with floor-mounted systems like the Garmin R50, Spica 3, and Rapsodo MLM2Pro — as well as overhead units like the ProTee VX and VTrack.
This is the enclosure we use in the Golf Sim Depot Simulator Builder — our most recommended DIY enclosure for home bays. Custom sizes are available up to a 112" × 150" viewable screen. Need something larger? Step up to the Carl's Place Pro Enclosure.
All four screens extend to the floor for Carl's borderless image. The difference is image quality, durability, and how your room handles light. Here's the breakdown:
Loosely woven single-layer material. Budget-friendly starter option — solid for practice and casual use. Image quality is good but not as crisp as the upper tiers.
Tighter weave with silicone reinforcement — noticeably crisper image than Standard. Single-layer but tightly woven for good durability. The sweet spot of price and performance for most home setups.
Three layers of heavy-duty impact-resistant polyester with a noise-dampening center. Softer at impact, noticeably quieter, and the highest image quality Carl's offers in white. Survives years of daily driver shots.
Same triple-layer construction as Premium, but in a gray tone that boosts contrast, deepens blacks, and enhances color vibrancy. Designed for rooms that can't be fully blacked out — like garages with windows or commercial bays with ambient light.
Allow 2–3" of buffer space above and on each side of the enclosure frame. Allow 12–16" of clear space behind the impact screen — anything touching the back of the screen can cause premature wear.
| Listed Size | Aspect Ratio | Overall H | Overall W | Viewable H | Viewable W | Diagonal |
|---|---|---|---|---|---|---|
| 8' × 8' | 1:1 | 100" | 100" | 88.6" | 88.6" | 125.3" |
| 7.7' × 10' | 4:3 | 95.8" | 124.8" | 85" | 113.4" | 141.7" |
| 8' × 10.5' | 4:3 | 100" | 130.3" | 89.2" | 118.9" | 148.7" |
| 7.7' × 13' | 16:9 | 95.8" | 163.3" | 85.5" | 151.9" | 174.3" |
| 8.5' × 11.5' | 4:3 | 107.5" | 140.3" | 96.7" | 128.9" | 161.2" |
| 9' × 12' ★ | 4:3 | 112" | 146.3" | 101.2" | 134.9" | 168.7" |
Pre-measured and cut 1" EMT pipes sized for your enclosure. Skip the trip to the hardware store, the measuring, and the cutting. The kit arrives ready to assemble. Note: pipes are NOT included in the base kit — you must either add this or source your own EMT locally.
Foam padding that covers the exposed pipe frame to protect you and the enclosure from stray shots that hit the sides or top of the frame. A straightforward safety upgrade that most builders add.
Hangs from the ceiling at the top of the enclosure to catch high-angle shots that might bounce off the screen and back toward the golfer. Particularly useful in commercial setups or for golfers who frequently hit high pop-up shots.
Wraps the rear of the enclosure with black fabric to block ambient light from leaking into the bay and prevent projector light from leaking out. A big difference in image quality if your room isn't fully dark. Includes the cover fabric — pipes sold separately or add the pipe kit.
Side netting that extends the enclosure's protection zone to catch shanks and errant shots before they reach the side walls. Think of these as insurance for the walls — useful if you're worried about the occasional shank bouncing around the room.